Reference
Create a Job
You must first create a client. Once that is done, click "New Job / Invoice" at the bottom of the client page.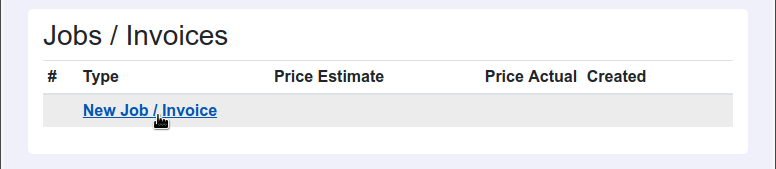
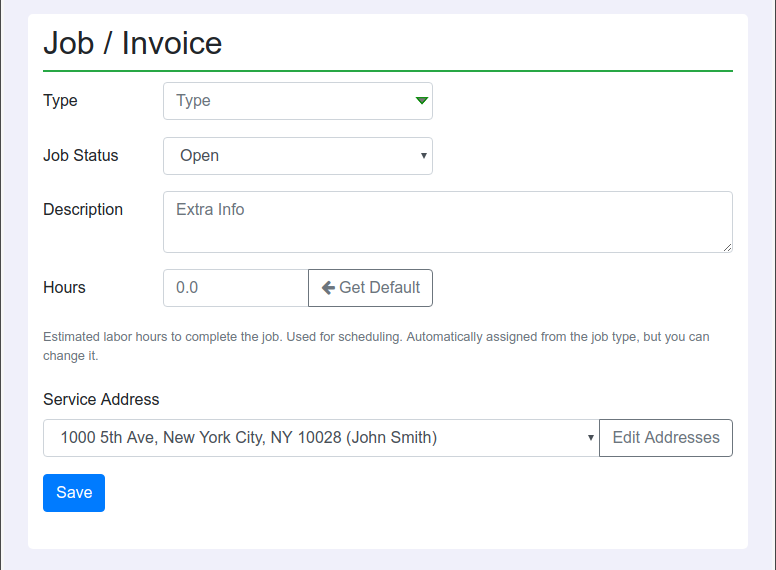
Fill in the following:
- Job Type: if there are no job types, click "Add New" in the drop-down selector
- Job Status: open, cancelled, closed. Leave the job open until it is paid. Once paid, the job should be closed. Cancelled means you are not planning to do any work or collect any money.
- Description: optional.
- Hours: estimated labor hours. Used for scheduling. This is automatically assigned from the default hours assigned to the job type, however, you can change it to whatever you want.
- Service Address: most likely created from the client page. If not, you can add, edit, and remove addresses by clicking the "Edit Addresses" button.